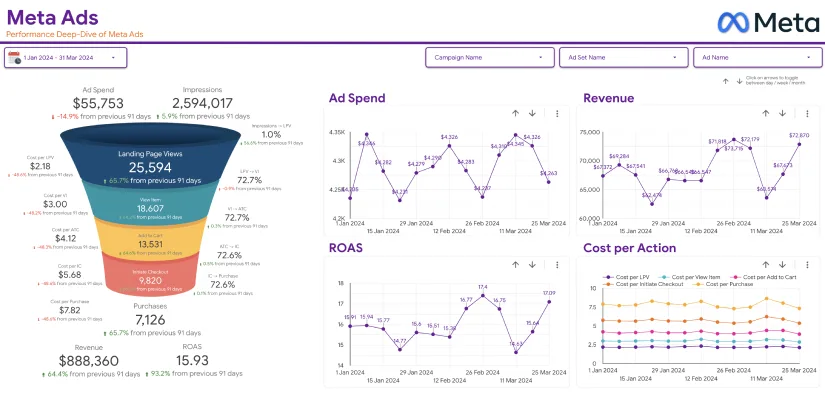
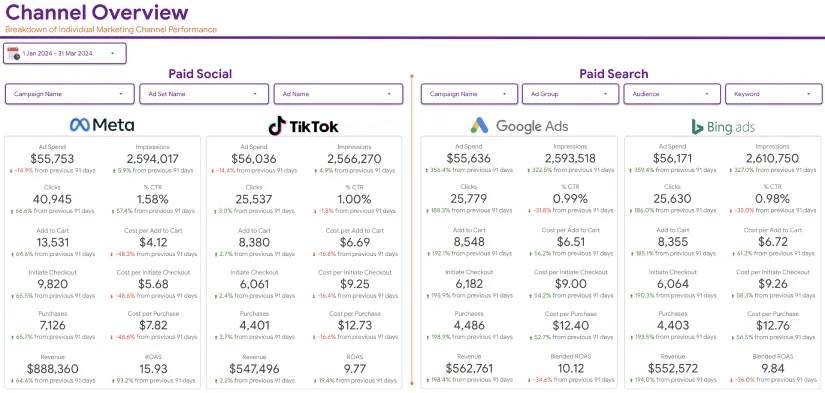
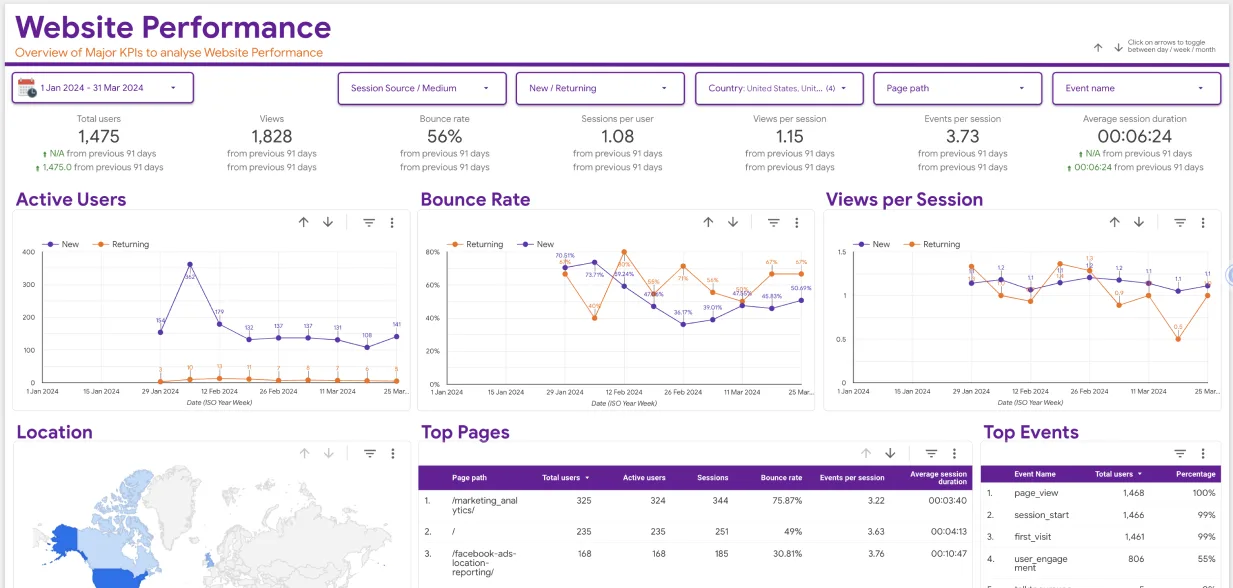
Looker Studio is one of the many free online resources provided by Google. It can be used for data visualization and creating reports. There are many different types of data that you can visualize with Looker Studio, including SEO statistics, financial reports, academic records, and so on.
In this post, we will guide you on how you can connect your Google Sheets documents with Looker Studio to integrate your existing data and make a comprehensive report out of it. But before we get to that part, let’s take a look at some of the basic rudimentary details.
Understanding Looker Studio in Detail
What exactly is Looker Studio? If you haven’t used it already, you could be a bit confused as to whether it is an app of its own or an integration, etc.
Looker Studio is an online productivity app just like Docs, Sheets, and Drive. You can access it at the link: https://lookerstudio.google.com/
The home page looks similar to Drive, Docs, and Sheets with a template gallery, recent files, and a bunch of menus on the left side. You can see it in the screenshot below:

With Looker Studio, you can basically create reports and data charts/graphs. Just like Docs is used for creating written documents and Sheets is used for creating spreadsheets, Looker Studio is for making reports.
The reports can be of any sort. For example, on the home page, here are some of the templates that you can find:
- Google Ads Review
- Google Search Console Report
- Google GA Report
You can connect data sources with Looker Studio to streamline the process of report creation. For example, you can connect your Google Search Console with Looker Studio to instantly import data from the former to the latter.
And the same can be done with Google Sheets.
…and this post is about how you can do that. (Find the exact steps to connect Looker to Google Sheets by scrolling down.)
What is Google Sheets and What Can it Be Used for?
Google Sheets is an online application that is part of the Google Workplace Suite. You can use Google Sheets to make spreadsheets.
There are many advanced functions and features that you can use with Google Sheets. It allows you to use different colors in your spreadsheets, and add different types of interactive elements, such as drop-down menus, and so on. You can perform mathematical functions on the entries as well.
All in all, Google Sheets is a comprehensive tool that comes with a lot of different options for creating and customizing spreadsheets. The sheets that you create with this app can be integrated into Looker Studio.[1]
How to Use Looker Studio with Google Sheets?
Now let’s get down to how to use Looker Studio with Google Sheets.
1. First of all, make sure that you have a Google account
As is the case with all of the Google apps that you can use online, you need to have a Google account before you can get started with Looker Studio.
If you already have one, you can skip to the next step.
However, if you don’t have a Google account, here is what you need to do:
- Navigate to Google.com
- On the top right corner, click on “Sign in”

- When you’re on the sign-in screen, click on the button that says “Create Account”

After that, follow the indicated steps to create an account.
2. Navigate to Looker Studio and sign in
Navigate to Looker Studio by clicking on this URL: https://lookerstudio.google.com
You can also do a Google search with the term “Looker Studio” and it will show up at the top.
After clicking on it, sign in to your Google account. If you are already signed in, then this won’t be necessary.
3. Click on “Create New Report”
If this is your first time working with Looker Studio, there won’t be any recent files. You will see a big button with the text “Create New Report.”

4. Set up your account/profile if you are a first-time user
If you are a first-time user at Looker Studio, you will be required to set up your account by providing the name of your company and the country that you are situated in.

This will be a necessary step before you can get started with Looker Studio.
After you are done setting up the account, you will be again taken to the home page where you will be asked to repeat your previous action.
5. Once you are on the report page, click on the button that says “Add Data”
Once you click on “Create New Report,” you will be taken to a blank report page. The layout will be similar to the document page in Word. Here, click on the button in the ribbon that says “Add Data.”

When you click on the Add Data button, a menu will pop up on the lower section of the screen. There will be various options that you can select, such as Google Analytics and Google Ads, etc. You will also see Google Sheets.
Click on Google Sheets to integrate it with your report.

6. Authorize the data connection
When you click on “Google Sheets,” another window will slide over where you will be asked to authorize the data connection. Click on the “Authorize” button and then sign in to your Google account again.

After you have authorized the connection, you can select which spreadsheets you want to add to the report.
- First, click on the spreadsheet that you would like to open
- Then, select the exact worksheet and click on the “Add” button to import it to Looker Studio

7. Customize the report as per your needs and requirements
Once the sheet is added to your report, you can customize it extensively.
- You can click on the imported data chart and then use the menu on the right side to edit the entries
- You can add more data sources and sheets to the report
- You can customize the looks and theme of the report
- You can add various controls to the report to add more functionality to it and to make it more interactive
You can see those options highlighted in the image below:

Once the report is final and ready, you can share it with other users by clicking on the “Share” button at the top right corner.
And this is how to use Looker Studio with Google Sheets.
Benefits of Using Google Sheets and Looker Studio Together
Now let’s talk about some of the benefits and upsides of using these two apps together. Some people may think that just using Google Sheets can be enough for data representation and visualization; what’s the need for Looker Studio?
Let’s answer that question.
- With Looker Studio, you can combine and integrate multiple sheets together to make a collective report. This is not something that you can do easily with Google Sheets.
- Looker Studio allows you to meticulously control what data has to be shown in the report and how it has to be shown, etc. Using this feature, you can create reports that focus on certain types of information.
- You can also add data from other sources to complement your Google Sheets. For example, you can add a Google Sheet showing the clicks your website has gotten on different keywords. To complement this sheet, you can add data from Google Analytics as well. This isn’t something that you can do with any other Google app.
- Looker Studio allows users to adjust the theme and layout of their reports. This can be very useful and handy if you want to match your reports with other documents or with the colors of your brand, etc.
- Although the sharing feature is present in many other Google apps, its utility in Looker Studio is exceptional. You can share the reports with others using a simple unique URL. The other users can then make changes to the reports that you can see in real time. This can make group collaborations very easy and efficient.
In short, Looker Studio is a dedicated app for report creation and data visualization while Google Sheets is used for making spreadsheets. The option to integrate the latter with the former allows you to merge their functionalities and massively enhance your productivity.
Wrapping Up
And that is where we wrap this article up.
Google Sheets is a useful and excellent online application that you can use to make spreadsheets for different purposes. Looker Studio, formerly known as Google Data Studio, on the other hand, is a tool that you can use to create visual data reports.
In the post above, we have described the step-by-step process of connecting Looker to Google Sheets. All you have to do is sign in to your Google account, navigate to Looker Studio, set up your account, and then add Google Sheets as your data source.
After authorizing the data connection, you can select which worksheet to display in your report.
No Need to Write this Section So elaborately. Almost 300+ Words Covered only Looker Studio and Google Sheets


